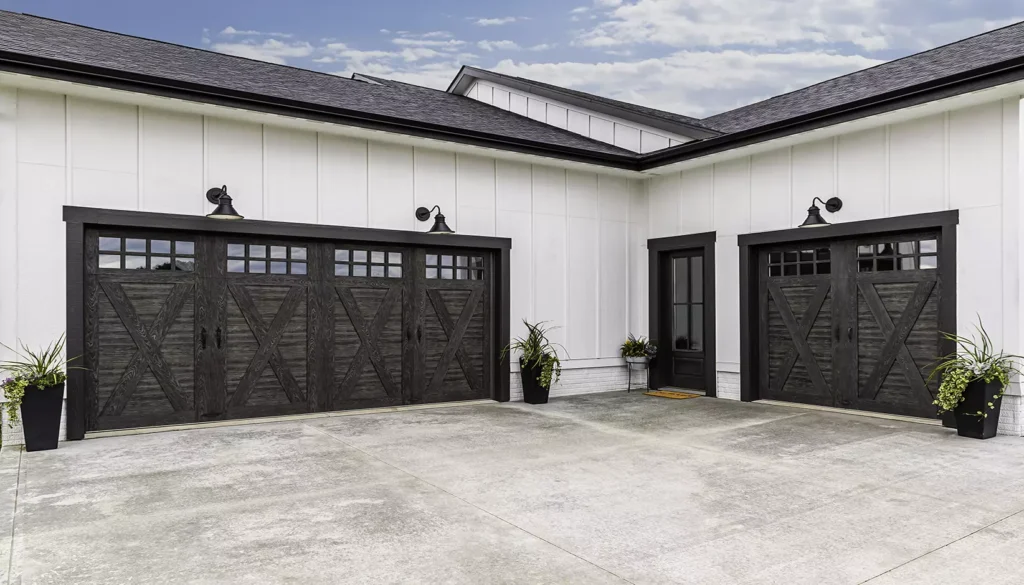
Step 1: Choose the Right Garage Door
Steel: Durable and low-maintenance.Aluminum: Lightweight and resistant to rust.
Wood: Offers a classic look but requires more maintenance.
Fiberglass: Can mimic wood but is more durable.
New garage door and hardware
Wrench set
Screwdriver set
Pliers
Hammer
Level
Tape measure
Ladder
Safety glasses and gloves
Release Tension: Carefully release the tension from the garage door springs using the appropriate winding bars.
Detach Door Panels: Starting from the top, remove the panels of the old door one by one. Be cautious, as they can be heavy and awkward to handle.
Assemble the Door Panels: Attach the hinges to the panels, then start installing the panels from the bottom up, securing each one to the track as you go.
Add the Rollers: Insert rollers into the hinges and brackets, then slide them into the tracks.
Secure the Tracks: Install the horizontal and curved tracks, ensuring they are level and aligned properly.
Attach the Springs and Cables: Carefully attach the springs and cables, following the manufacturer’s instructions. This step can be dangerous, so ensure you understand the process before attempting it.
Step 6: Perform a Safety Check
Replacing a garage door is a manageable DIY project for those with the right tools and some basic handyman skills. By following this step-by-step guide, you can enhance the curb appeal of your home and ensure your garage door functions efficiently for years to come. If you encounter any difficulties or feel unsure about any step, don’t hesitate to consult a professional for assistance.

