


Hi friends! If you’re in the middle of a home renovation in Sacramento and your siding is looking a little sad (you know what I mean—chipping paint, warped panels, maybe even a little mystery mildew?), don’t panic. This step-by-step guide will walk you through a DIY siding repair project that’s manageable, budget-friendly, and—most importantly—cute enough to make your neighbors jealous.
Here’s how to give your exterior a little love without blowing your weekend or your savings.
Step 1: Assess the Damage Like a Pro (or at Least Pretend to)
Walk around your home and check for:
- Cracks
- Buckling or warping
- Moisture stains
- Loose or missing panels
Take pictures and make a simple sketch. You don’t need to be an architect—just know what needs fixing.
Step 2: Match Your Siding Material
Before you dive in, figure out what you’re working with:
- Vinyl?
- Wood?
- Fiber cement?
Visit a local Sacramento hardware store or siding supplier and bring a sample (or at least a photo with dimensions) to match color and profile.
Step 3: Gather Your Tools and Materials
Depending on your siding type, you’ll likely need:
- Pry bar
- Replacement panels
- Galvanized nails or screws
- Caulk or exterior sealant
- Paint or stain (if needed)
- Safety gloves and goggles (because you’re smart and stylish)
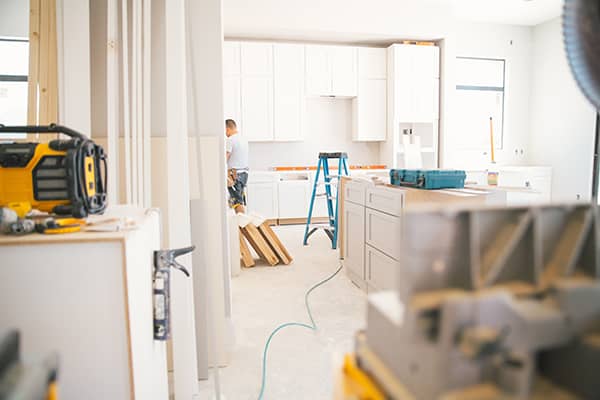
Step 4: Remove and Replace Like a DIY Boss
- Gently pry away the damaged panel(s)
- Remove nails or screws carefully
- Slide in the new panel, making sure it aligns with the existing pieces
- Fasten in place and seal any edges with exterior caulk
Hot Tip: Work on a cool day—extreme heat can make vinyl brittle and tricky to handle.
Step 5: Paint Touch-Up or Full Refresh? You Decide.
If you had to paint or stain to match, blend the new pieces with your existing siding. But hey—this could also be your sign to refresh the whole exterior with a new color. Just saying.
Final Word
Home renovation in Sacramento doesn’t have to mean gutting your whole house. Sometimes, it’s about small changes that make a big visual impact. With a little elbow grease and a lot of good vibes, your DIY siding repair can boost your home’s charm and give it a whole new personality.
Because curb appeal? It starts with confidence—and a caulk gun.
